Trigger Sensors
The security camera supports modular trigger sensors that automatically start recording when activated. The system is designed so you can swap hardware - a magnetic reed switch, vibration sensor, light gate, or any of the supported modules - without changing any code. Configuration is done entirely through the web dashboard or the REST API.
How it works
The recording trigger flow is:
- Sensor fires (door opens, motion detected, vibration felt, etc.)
- Presence check - are any tracked Bluetooth or WiFi devices nearby?
- If nobody is home - recording starts automatically
- If someone is home - the trigger is ignored (you're home, no need to record)
- Sensor releases - after a configurable hold timeout, recording stops
Manual recording from the dashboard is always allowed, regardless of sensor state or presence detection. The presence gate only applies to automatic sensor-triggered recording.
Sensor states
The dashboard shows the current sensor state with a colour-coded indicator:
| State | Colour | Meaning |
|---|---|---|
| Armed | ● Green | Sensor is active and monitoring. No trigger event right now. |
| Triggered | ● Red | Sensor fired and recording has started (nobody home). |
| Suppressed | ● Yellow | Sensor fired, but a tracked device is present - trigger ignored. |
| Idle | ● Grey | Sensor is configured but auto-recording is toggled off. |
| Disabled | ● Grey | No sensor configured or sensor stopped. |
The Suppressed state is the key distinction: it tells you the sensor is working (it detected something) but the system decided not to record because someone is home. This prevents false alarms when you walk past your own camera.
Supported sensors
All sensors below use the digital output (DO) pin and work with 3.3V logic. GPIO pins are configurable from the dashboard - the defaults listed here are suggestions to avoid conflicts. See the wiring guides for detailed pin connections and tips for each sensor.
| Type | Module | Default GPIO | Use Case |
|---|---|---|---|
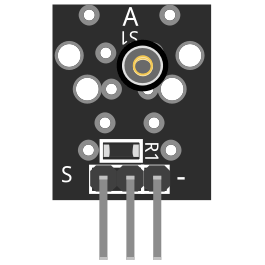
| Reed Switch | KY-025 | GPIO 22 | Door / window open detection |
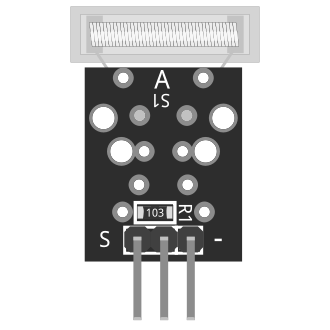
| Mini Reed Switch | KY-021 | GPIO 20 | Same as above, smaller form factor |
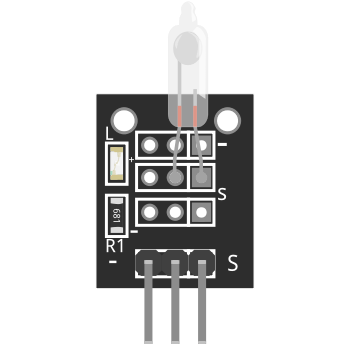
| Hall Magnetic | KY-003 | GPIO 13 | Door / window detection (no moving parts) |
| Hall Magnetic (Linear) | KY-024 | GPIO 12 | Door / window detection (adjustable threshold) |
| PIR Motion | HC-SR501 | GPIO 17 | Motion detection in a room |
| Vibration / Shock | KY-002 | GPIO 5 | Impact, door slam, forced entry |
| Knock / Tap | KY-031 | GPIO 19 | Knocking on door, tapping on window |
| Light Gate | KY-010 | GPIO 6 | Alarm when pin/bolt is pulled from slot |
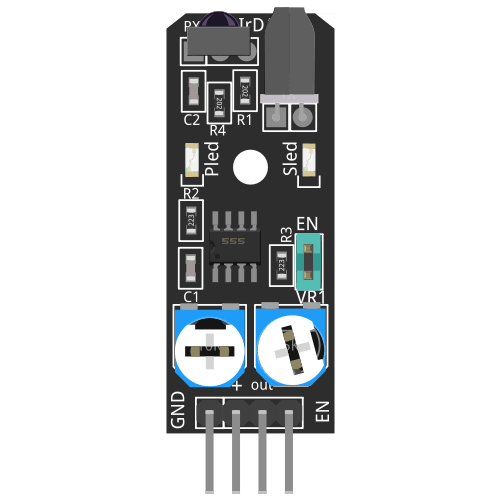
| IR Proximity | KY-032 | GPIO 24 | Detect someone approaching (~2-40 cm) |
| Tilt Switch | KY-017 | GPIO 26 | Camera tamper detection |
| Tilt Switch (Ball) | KY-020 | GPIO 25 | Camera tamper detection (ball variant) |
| Touch Sensor | KY-036 | GPIO 16 | Touching camera housing or door handle |
| Sound (Big) | KY-037 | GPIO 23 | Glass breaking, loud noise detection |
| Sound (Small) | KY-038 | GPIO 8 | Nearby sound detection (less sensitive) |
| Button | KY-004 | GPIO 27 | Manual hardware trigger / testing |
| Mock | Software only | - | Development and testing without hardware |
Sensor modules

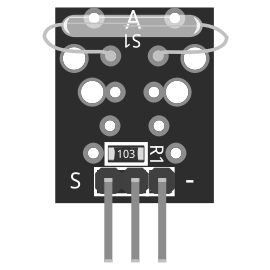
Reed Switch
KY-025
Mini Reed
KY-021
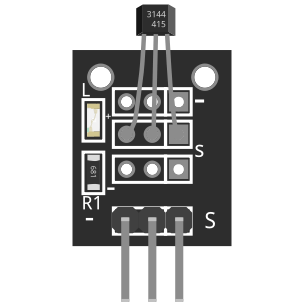
Hall Magnetic
KY-003
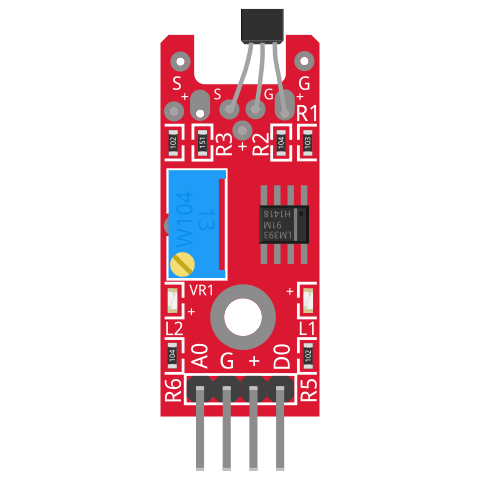
Hall Linear
KY-024
PIR Motion
HC-SR501
Vibration
KY-002
Knock / Tap
KY-031

Light Gate
KY-010
IR Proximity
KY-032
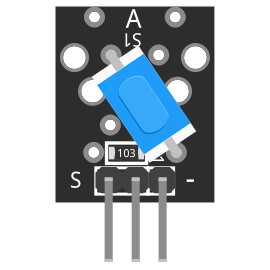
Tilt Switch
KY-017
Tilt (Ball)
KY-020

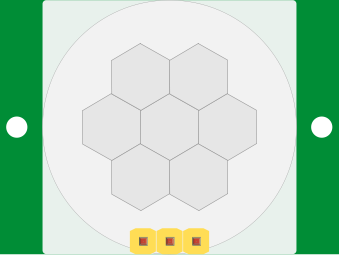
Touch Sensor
KY-036
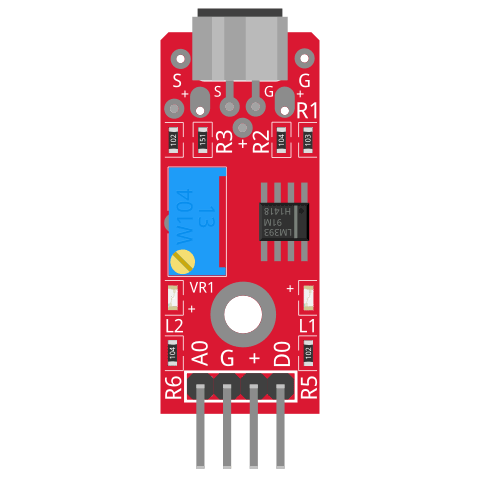
Sound (Big)
KY-037
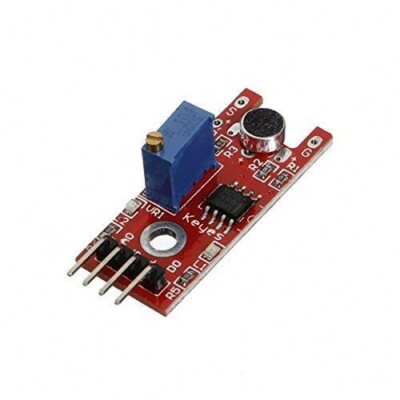
Sound (Small)
KY-038
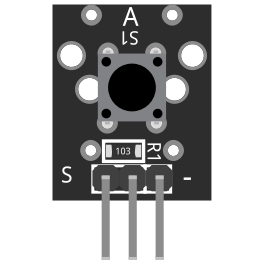
Button
KY-004
Configuration
Via the dashboard
- Go to Settings in the web dashboard
- Scroll to the Trigger Sensors section
- Select your sensor type - each card shows the module name, use case, and an expandable wiring guide
- Set the GPIO pin (if applicable)
- Set the hold timeout (seconds to keep recording after release)
- Adjust calibration if the sensor supports it (PIR sensitivity, vibration thresholds, etc.)
- Click Save Configuration
- Toggle Auto-recording on
You can also configure sensors via the REST API or by editing client/settings/settings.json directly.
Hold timeout
The hold_seconds setting controls how long recording continues after the sensor releases. This prevents recording gaps from:
- A door bouncing open and closed
- Brief gaps between motion events
- Repeated vibration or knock pulses
Set to 0 to stop recording immediately on release. The default is 10 seconds.
For pulse-based sensors (KY-002 vibration, KY-031 knock), set a longer hold timeout (15-30 seconds) since each event is a brief pulse rather than a sustained state change.
Invert trigger logic
The Invert trigger toggle swaps what GPIO state means "triggered". Use this when your sensor's wiring results in the opposite logic from what you expect - e.g. if the reed switch reads LOW when the door is closed instead of when it's open.
Next steps
- Wiring guides - pin connections for all 15 hardware sensors
- Calibration - fine-tune PIR sensitivity, vibration thresholds, and more
- REST API - configure sensors programmatically
- Custom sensors - build your own sensor module